A Strava dashboard on a Raspberry Pi (Part 2): Installing software

In last blogpost we set up the Raspberry Pi, attached the Inky Impression display and got the Raspberry Pi ready for remote access.

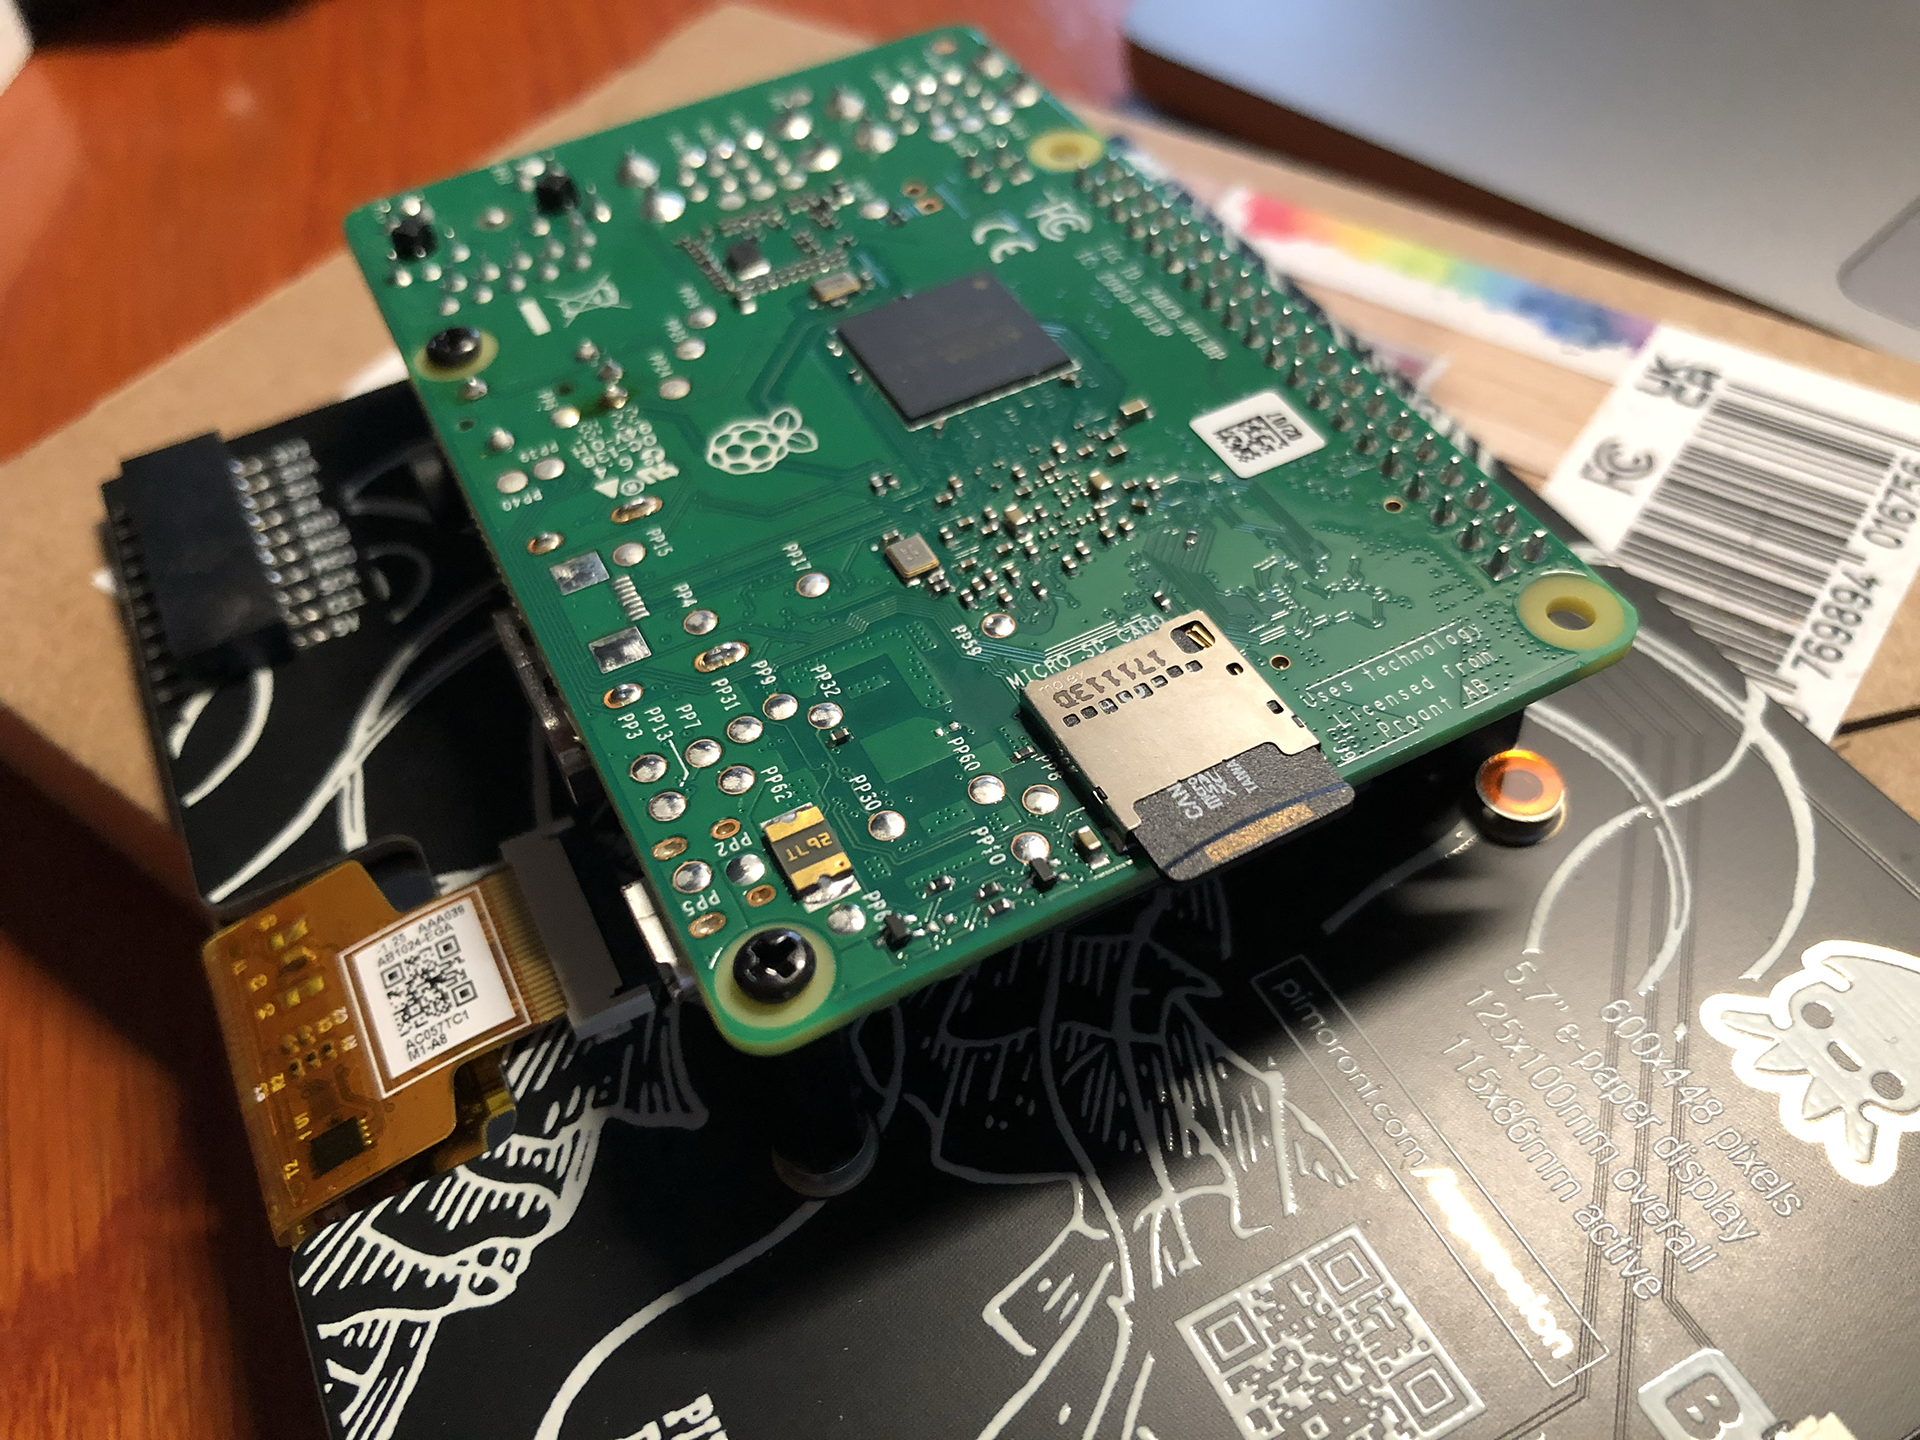
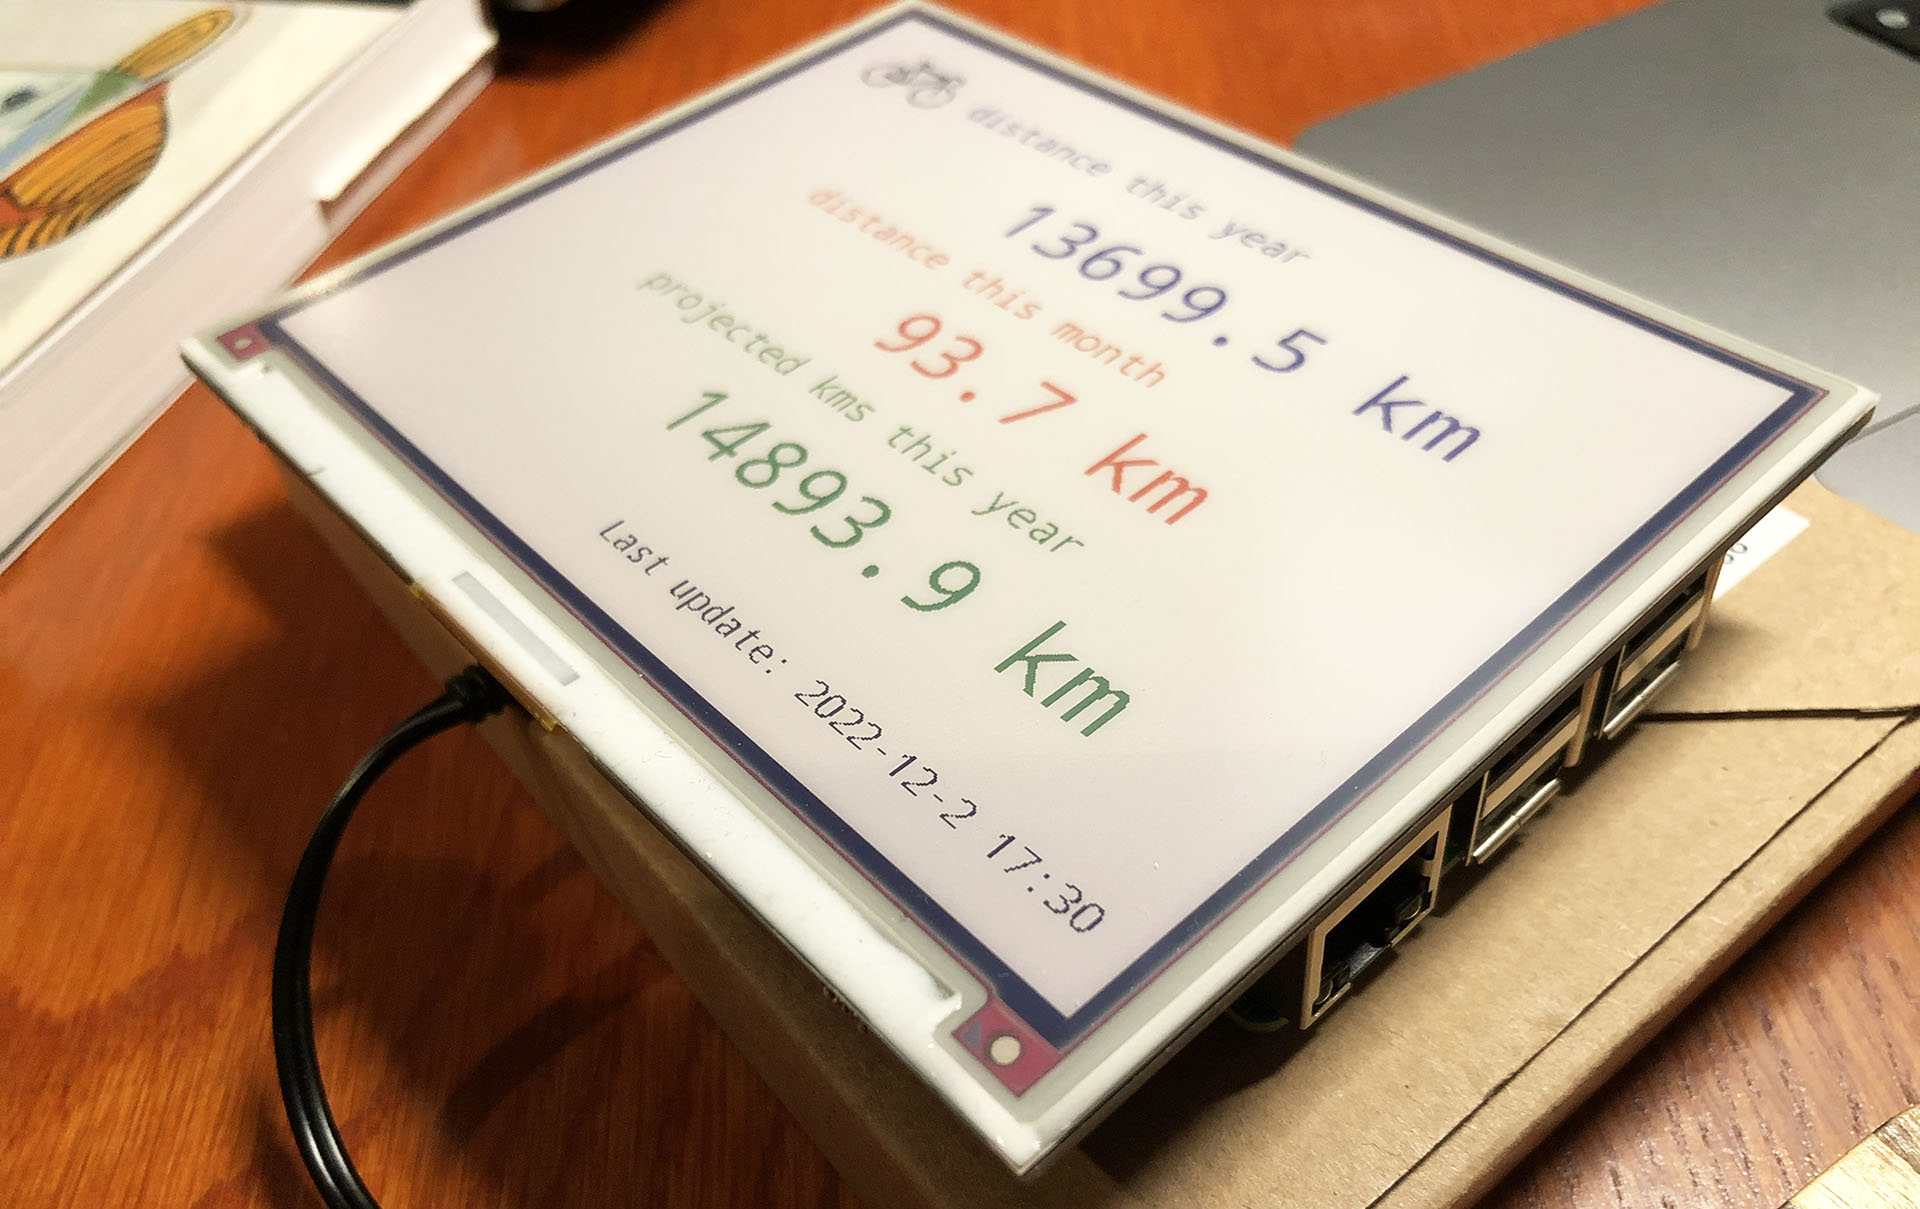
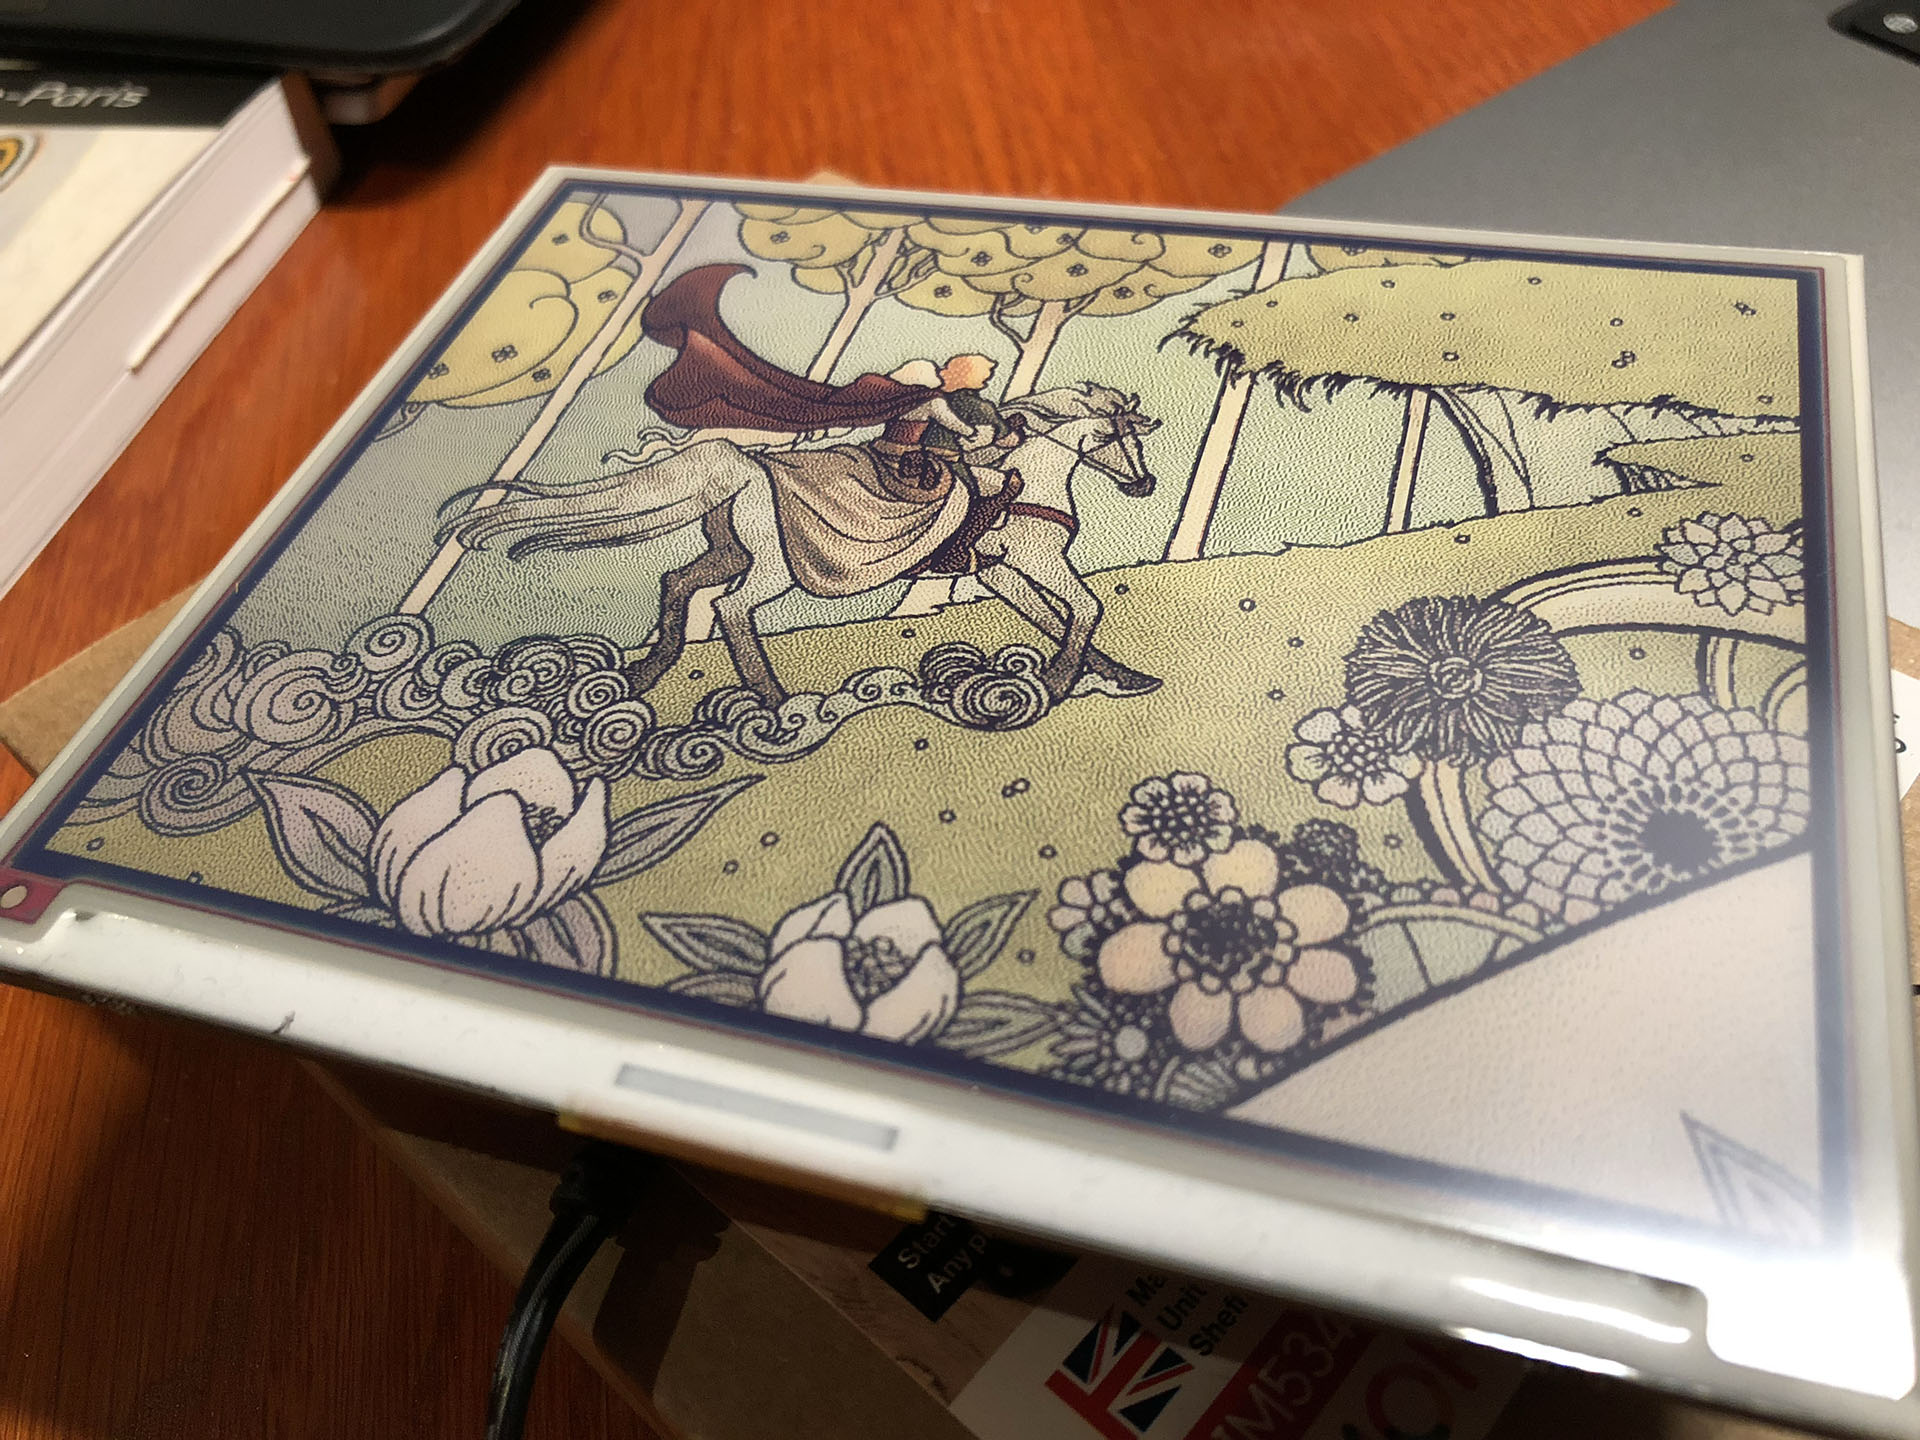
Time to get the Inky Impression software installed and make the Inky Impression screen display something.

Your SSH connection of choice

For this we’re going to have to run some commands via remote SSH. There are multiple ways to log in remotely. You can use a tool like Putty or the terminal on MacOS (I like iTerm2). That’s actually simpler.

But I chose to use Visual Studio Code because you can edit Python code remotely via SSH straight on the Raspberry Pi.

To do this you must install Visual Studio Code. Visual Studio Code has all kinds of extensions. Here we will install the Remote – SSH extension. And while you’re at it, maybe install the Python extension as well, because we will be writing some Python later.

Installing the Remote-SSH extension in Visual Studio Code
(more…)

A Strava dashboard on a Raspberry Pi (Part 1): Setting up the Raspberry Pi

This is the list of hardware I’ve used:

  • An Inky Impression 5.7 inch e-ink display.
  • (The Inky Impression comes with a 40-pin female header included to boost height for full-size Pis and standoffs included to securely attach to your Pi)
  • A Raspberry Pi 3 model B+ (I had lying around) + power supply
  • A micro SD card with 8 GB storage or more.
  • Initially: keyboard, mouse and monitor (but if you configure the WiFi on the Raspberry Pi and configure it to allow remote SSH, you can connect to it via WiFi from the convenience of your regular computer)

For those who don’t know a Raspberry Pi: this is a very small and quite cheap computer. The Raspberry Pi 3B+ I’ve used for example is about 40 euros. But you can spend even less, because my Strava dashboard doesn’t exactly require a lot of computing power.

So you could instead use a Raspberry Pi Zero 2 W (15-25 euros), which takes up less space also. But I believe this will require soldering to attach the GPIO. And it seems to be out of stock on a lot of sites.

(more…)

Building a Strava dashboard on a Raspberry Pi with an e-ink display

Let’s face it: my purchase of the Pimoroni Inky Impression 5.7 inch display was a solution looking for a problem. I saw a video about it and I was sold on the idea of having an e-ink display on one of my Raspberry Pi’s.

The Pimoroni Inky Impression on a Raspberry Pi 3B

While having a 7-colour e-ink display is cool and all, I had to come up with a good plan to utilize one. So it wouldn’t end up in a drawer after a short experiment.

You can use it to display images, but it is 7-colour. So you have to “dither” full colour images to have it display well. Actually comic book style images are displayed much better than the average dithered photo. The resolution is quite low (600×448) and the refresh rate is quite slow (10-20 seconds). But for some applications this is just fine.

(more…)