An e-ink display showing an amount of 837 euros with a field of tulips as background.

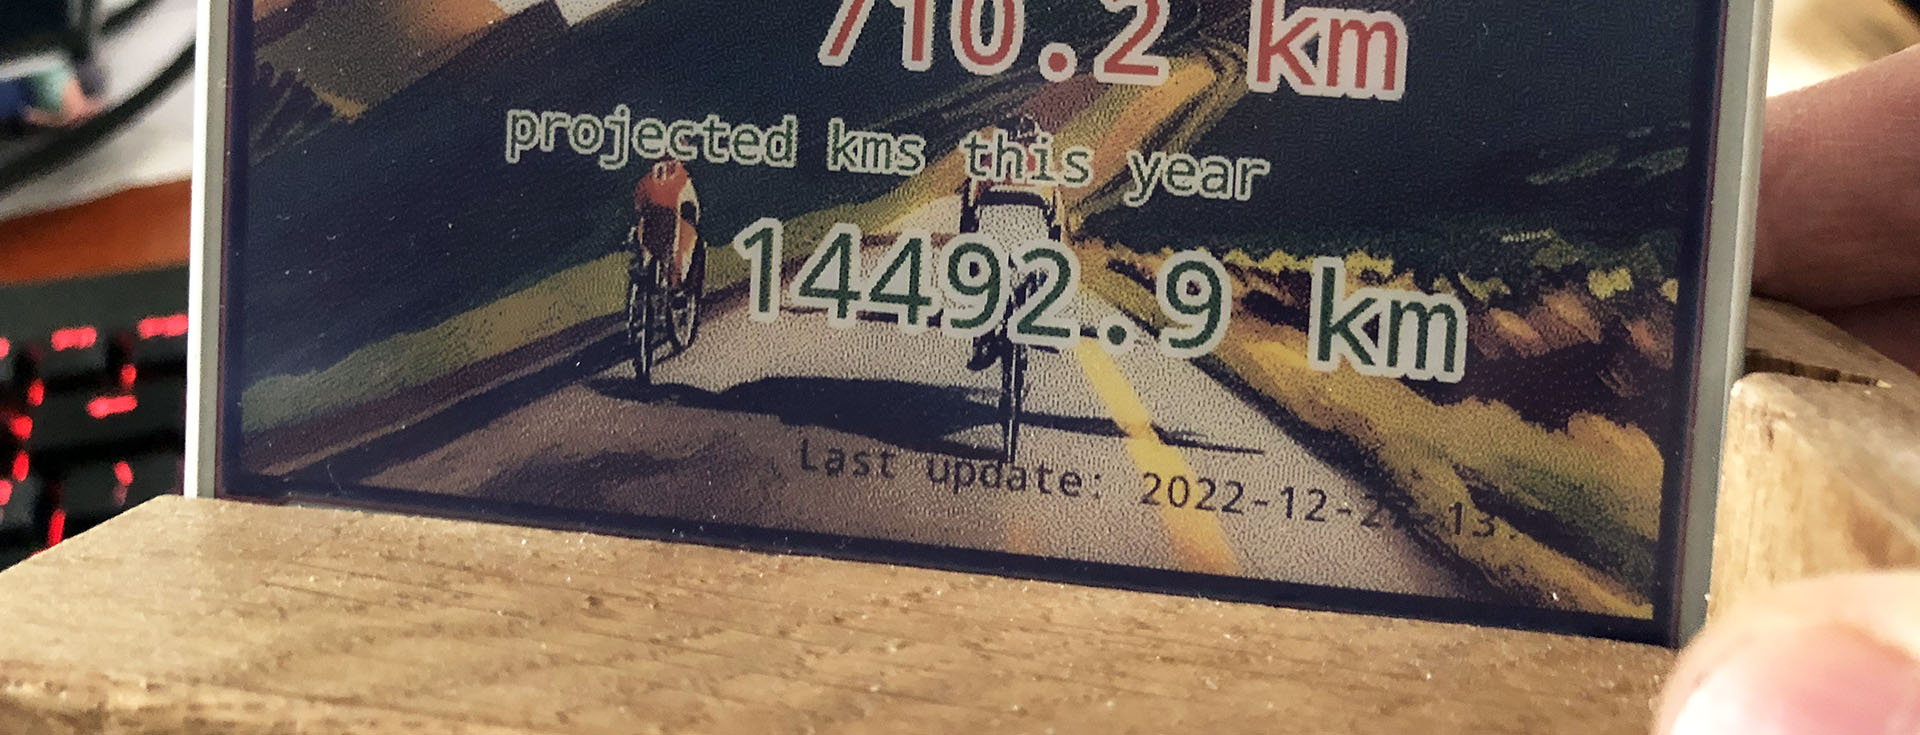
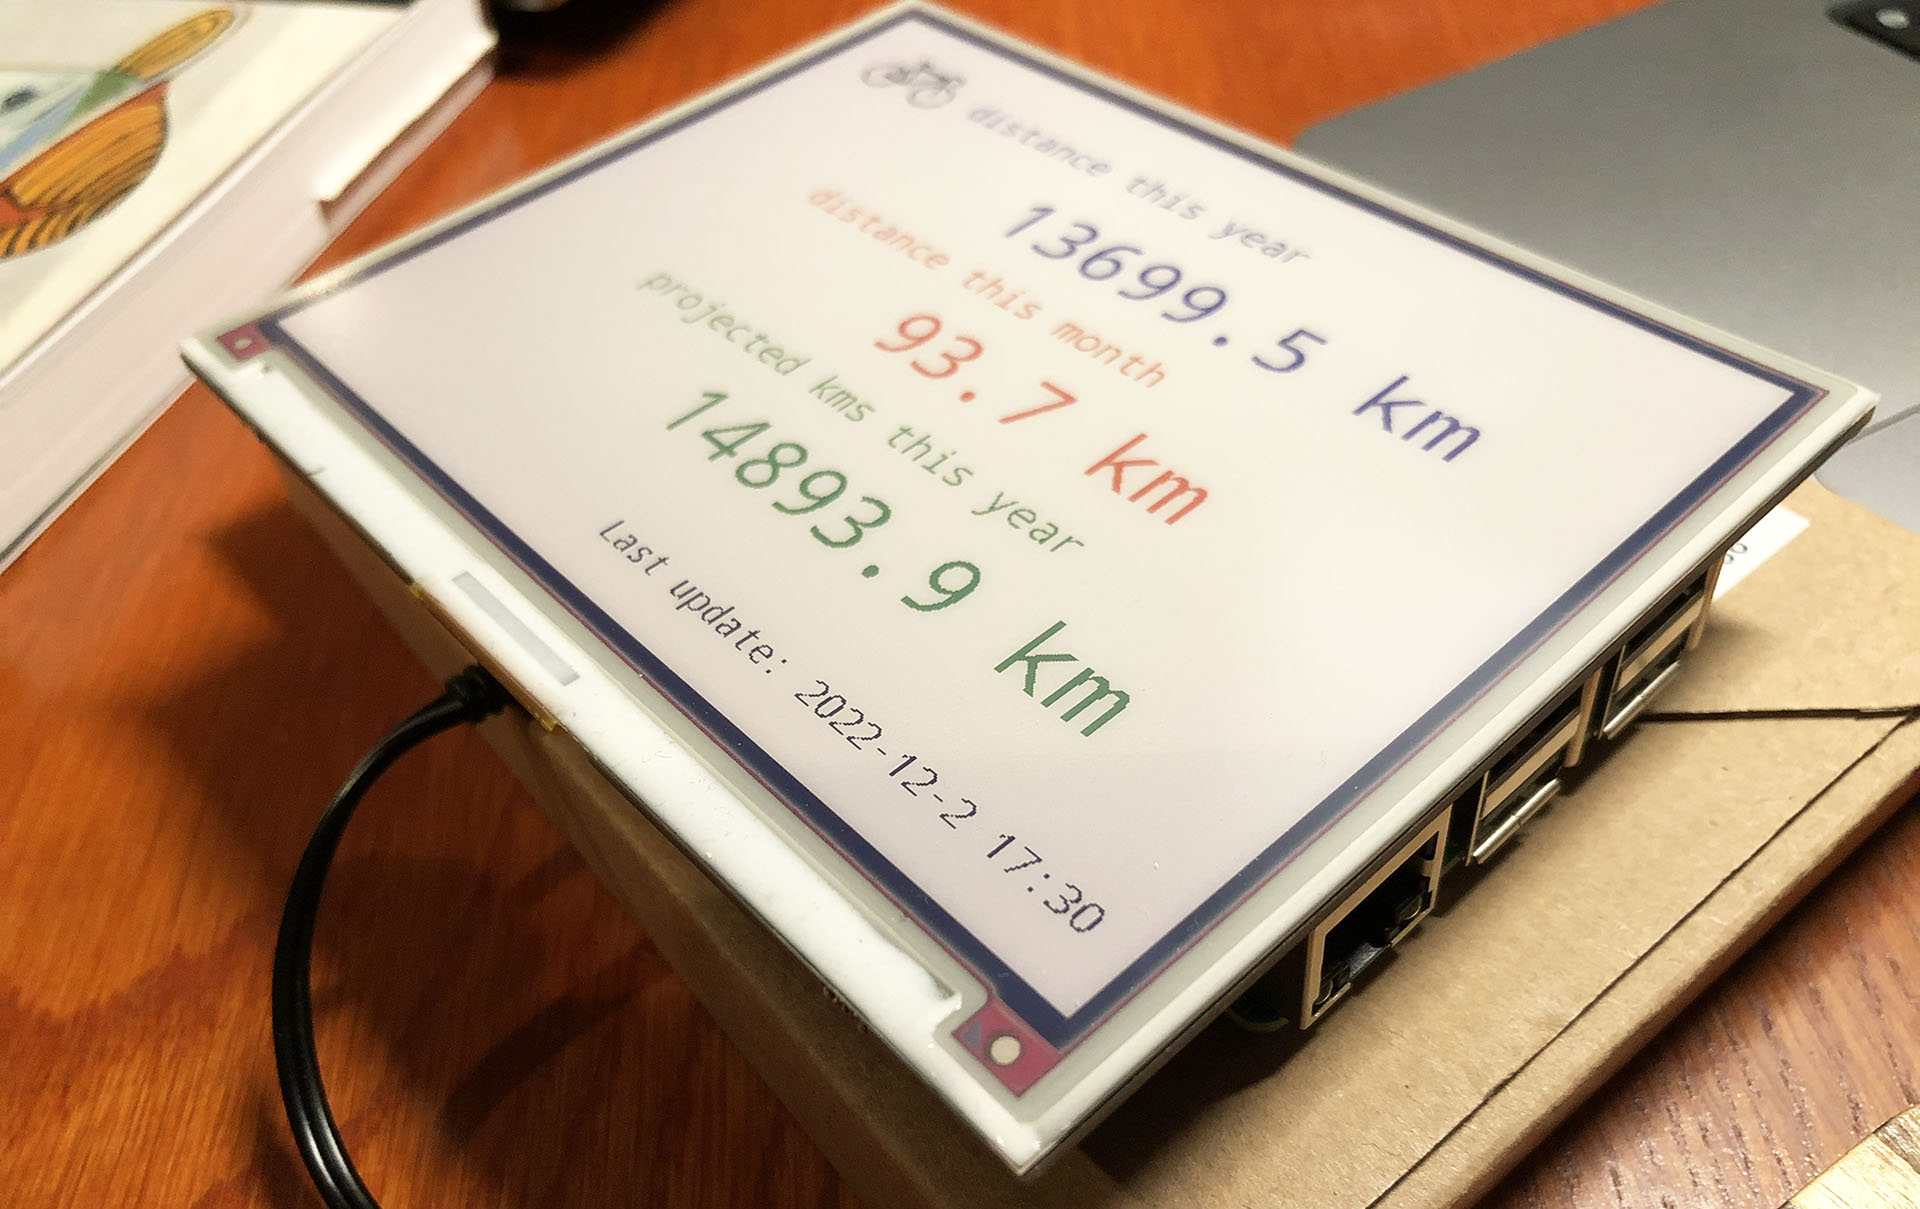
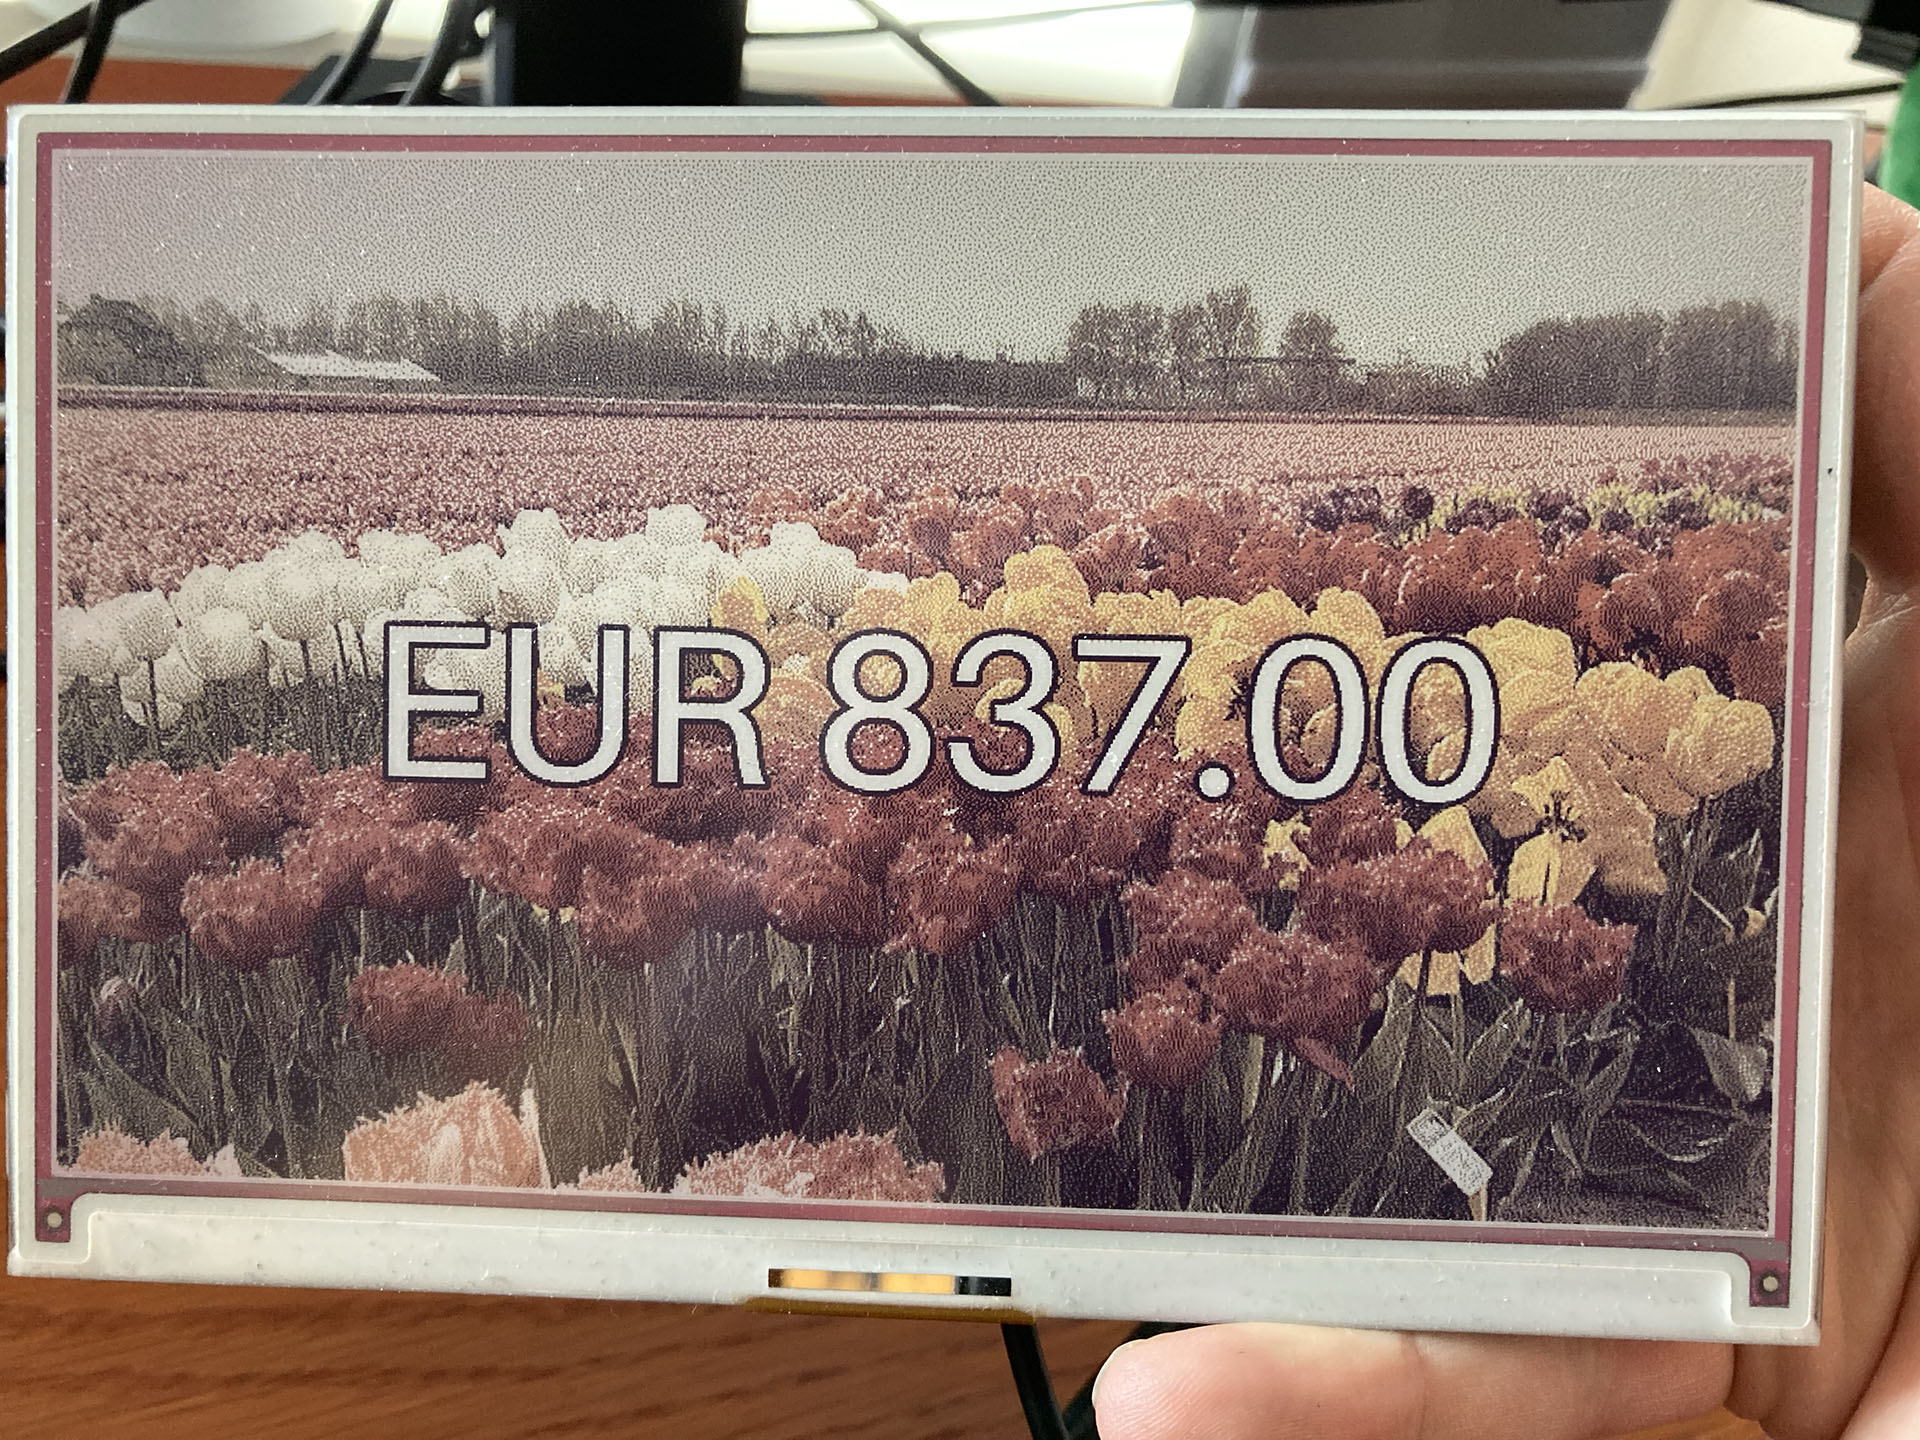
Showing a gift total on a Raspberry Pi with an e-ink display – how hard could it be?

TL;DR:

These Python and Raspberry Pi projects. They are fun aren’t they? And often they look deceptively simple. But you don’t see all the projects that failed and usually not where they struggled. This project got stuck (and almost failed) at:

  • Not being able to scrape dynamic website content.
  • When I found out how to do that, I couldn’t run my working Python code on the Raspberry Pi.
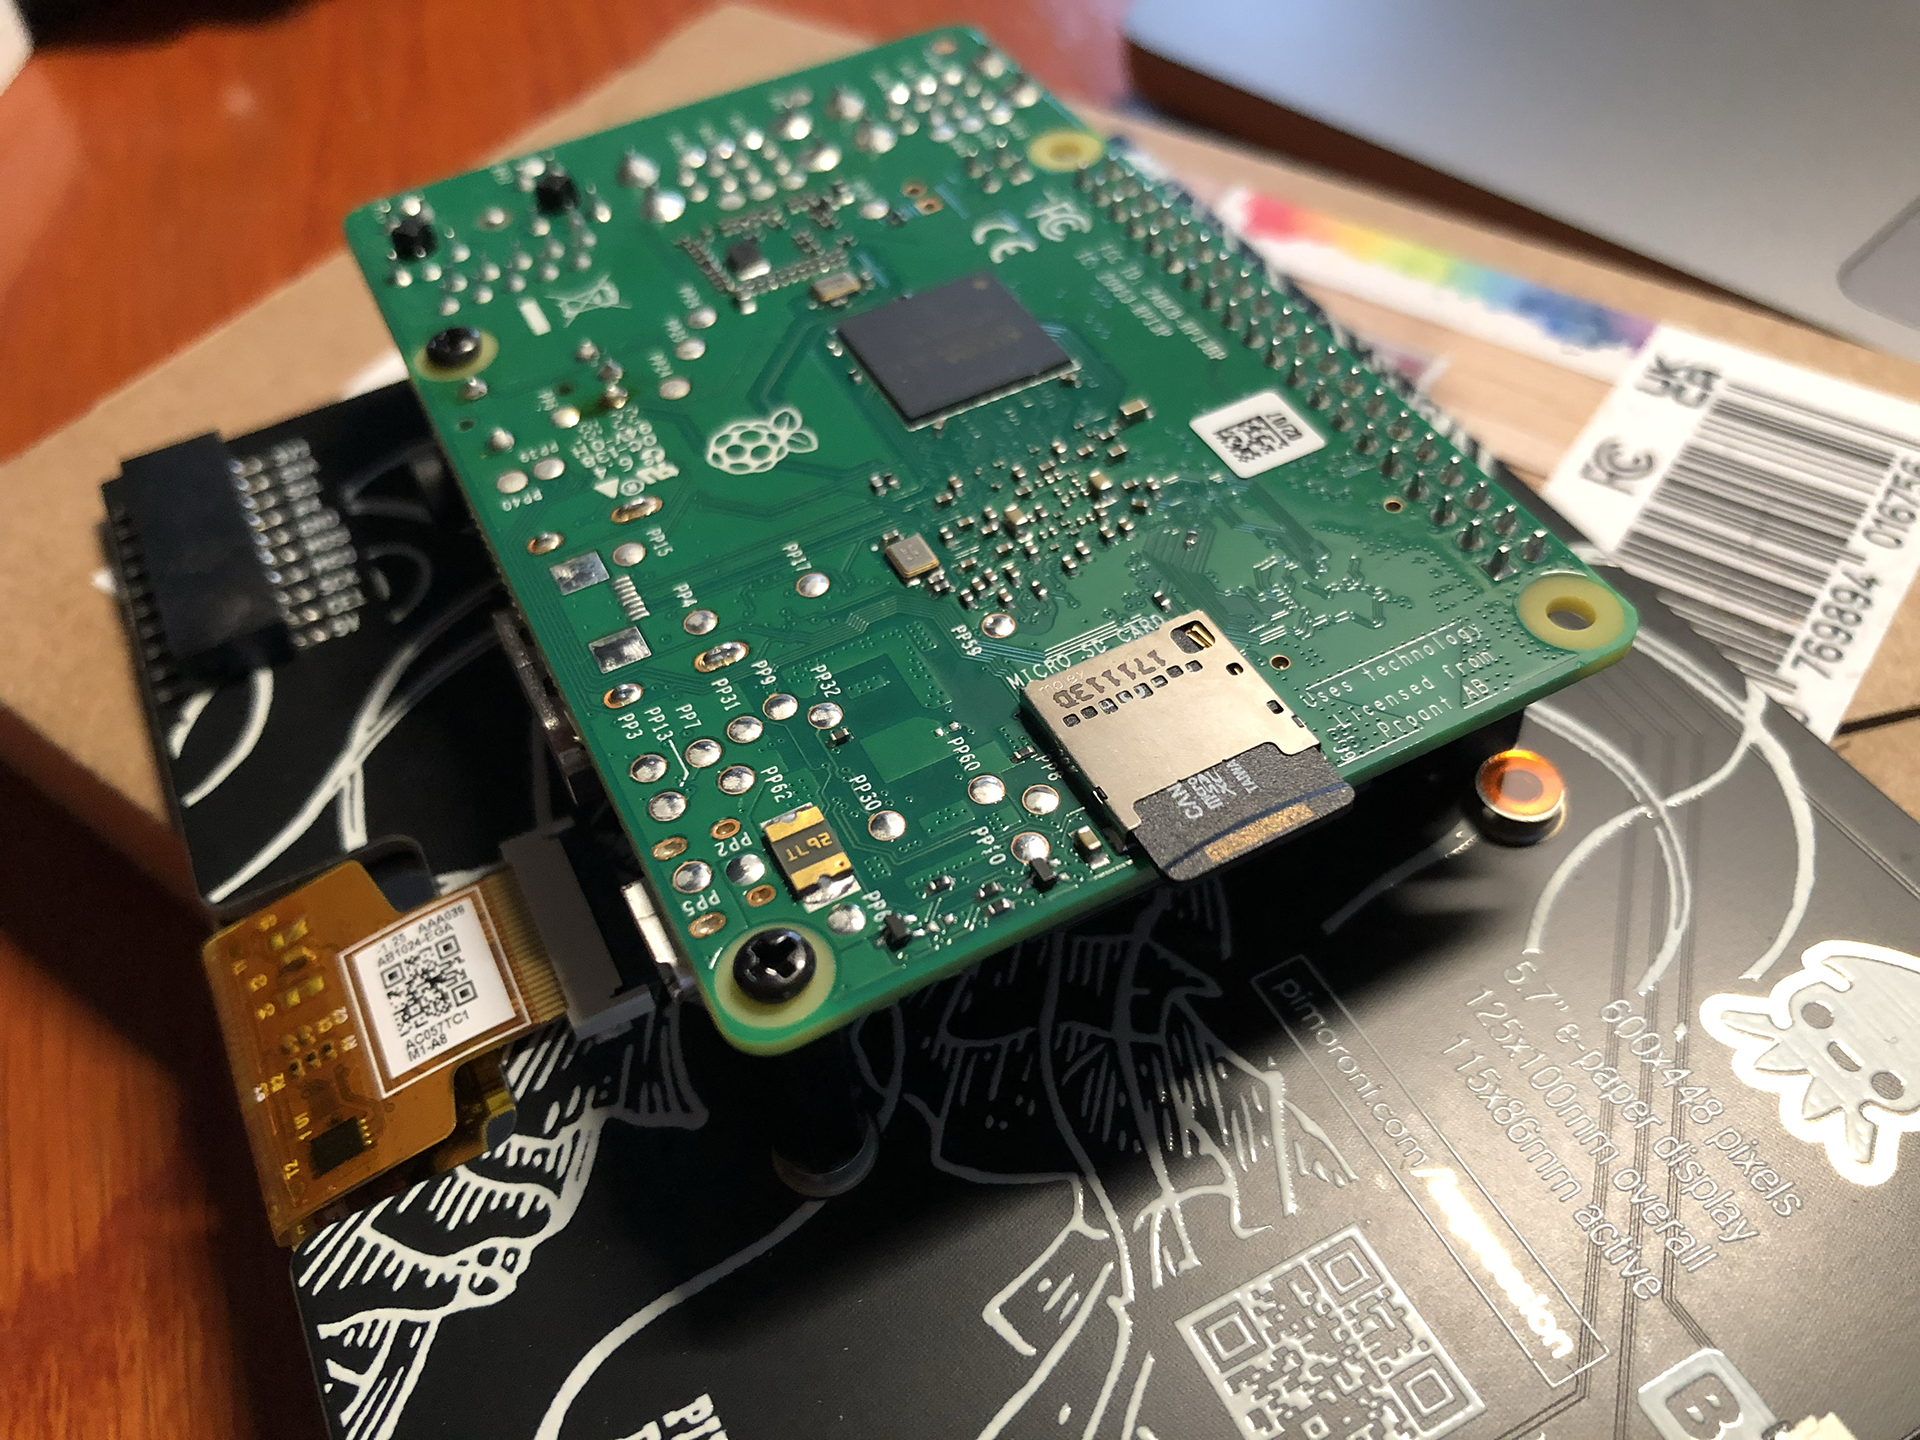
  • That turned out to be because the scraping packages use a chromium browser, but not for the ARM processor that the Raspberry Pi has.
  • And to top it all off, the Python package for the Inky Impression e-ink display had some kind of problem running numpy.
(more…)

A Strava dashboard on a Raspberry Pi (Part 3): The Strava API

This is part 3 of a series of blogposts on how I created a Strava dashboard on a Inky Impression e-ink display with a Raspberry Pi.

OAuth2

This was the part that I expected to be the hard part: getting my data from Strava. Or, to be more precise: getting the connection right so the Strava API would allow me to get that data. Because it requires authentication via the OAuth2 protocol and I’ve tried a similar thing a few years back with a Google API and I just didn’t get it. But now I do.

Strava API documentation

It requires a whole “dance” between your computer code and the Strava API where you exchange all kinds of tokens back and forth. Strava’s Getting Started with the Strava API document explains it quite well. And this blogpost by Graziano Fuccio helped me a lot with the Python code: http://www.grace-dev.com/python-apis/strava-api/.

Frustratingly I still didn’t get it to work though. The reason I found out, is because the URL of the authentication has changed. From https://www.strava.com/oauth/token it became  https://www.strava.com/api/v3/oauth/token. I found this elsewhere in the Stava API documentation, where the correct URL was shown. I’ve told Strava that their Getting Started documentation is outdated. They asked me to create a ticket and I’ve done so, but I don’t think they changed their document yet. But Graziano Fuccio did though.

(more…)

A Strava dashboard on a Raspberry Pi (Part 2): Installing software

In last blogpost we set up the Raspberry Pi, attached the Inky Impression display and got the Raspberry Pi ready for remote access.

Time to get the Inky Impression software installed and make the Inky Impression screen display something.

Your SSH connection of choice

For this we’re going to have to run some commands via remote SSH. There are multiple ways to log in remotely. You can use a tool like Putty or the terminal on MacOS (I like iTerm2). That’s actually simpler.

But I chose to use Visual Studio Code because you can edit Python code remotely via SSH straight on the Raspberry Pi.

To do this you must install Visual Studio Code. Visual Studio Code has all kinds of extensions. Here we will install the Remote – SSH extension. And while you’re at it, maybe install the Python extension as well, because we will be writing some Python later.

Installing the Remote-SSH extension in Visual Studio Code
(more…)

A Strava dashboard on a Raspberry Pi (Part 1): Setting up the Raspberry Pi

This is the list of hardware I’ve used:

  • An Inky Impression 5.7 inch e-ink display.
  • (The Inky Impression comes with a 40-pin female header included to boost height for full-size Pis and standoffs included to securely attach to your Pi)
  • A Raspberry Pi 3 model B+ (I had lying around) + power supply
  • A micro SD card with 8 GB storage or more.
  • Initially: keyboard, mouse and monitor (but if you configure the WiFi on the Raspberry Pi and configure it to allow remote SSH, you can connect to it via WiFi from the convenience of your regular computer)

For those who don’t know a Raspberry Pi: this is a very small and quite cheap computer. The Raspberry Pi 3B+ I’ve used for example is about 40 euros. But you can spend even less, because my Strava dashboard doesn’t exactly require a lot of computing power.

So you could instead use a Raspberry Pi Zero 2 W (15-25 euros), which takes up less space also. But I believe this will require soldering to attach the GPIO. And it seems to be out of stock on a lot of sites.

(more…)

Building a Strava dashboard on a Raspberry Pi with an e-ink display

Let’s face it: my purchase of the Pimoroni Inky Impression 5.7 inch display was a solution looking for a problem. I saw a video about it and I was sold on the idea of having an e-ink display on one of my Raspberry Pi’s.

The Pimoroni Inky Impression on a Raspberry Pi 3B

While having a 7-colour e-ink display is cool and all, I had to come up with a good plan to utilize one. So it wouldn’t end up in a drawer after a short experiment.

You can use it to display images, but it is 7-colour. So you have to “dither” full colour images to have it display well. Actually comic book style images are displayed much better than the average dithered photo. The resolution is quite low (600×448) and the refresh rate is quite slow (10-20 seconds). But for some applications this is just fine.

(more…)

Adding the track of my bike ride on a Folium map

Having markers of videos and photos taken during my bike ride is cool and all, but how about having a track of the bike ride itself? All my bike rides are registered on Strava, the cycling and running app. Strava has an API for developers, but it requires connecting via OAuth 2.0 and knowledge of the API. I decided to go an easier route: because I’m Strava Premium member, I can download the GPX track of any ride, including my own.

These .gpx track files are of the same XML structure as we saw embedded in video files in my last blogpost. I can just open the file and use almost the same Python code to read the locations.

(more…)

Photo locations, marker icons and displaying photos on my map

When I was finished last week with creating my video location map in Python, I thought “shame I can’t plot photo locations”. That’s because my Fuji X-T30 camera doesn’t store GPS info. When I bought the camera I assumed every modern camera had GPS tagging, so I didn’t even checked that feature. Too bad. But I also made some photo’s during my vacations with my humble iPhone 8. And it does have GPS tags. So let’s plot some photo locations.

(more…)