Visiting PyGrunn 2025

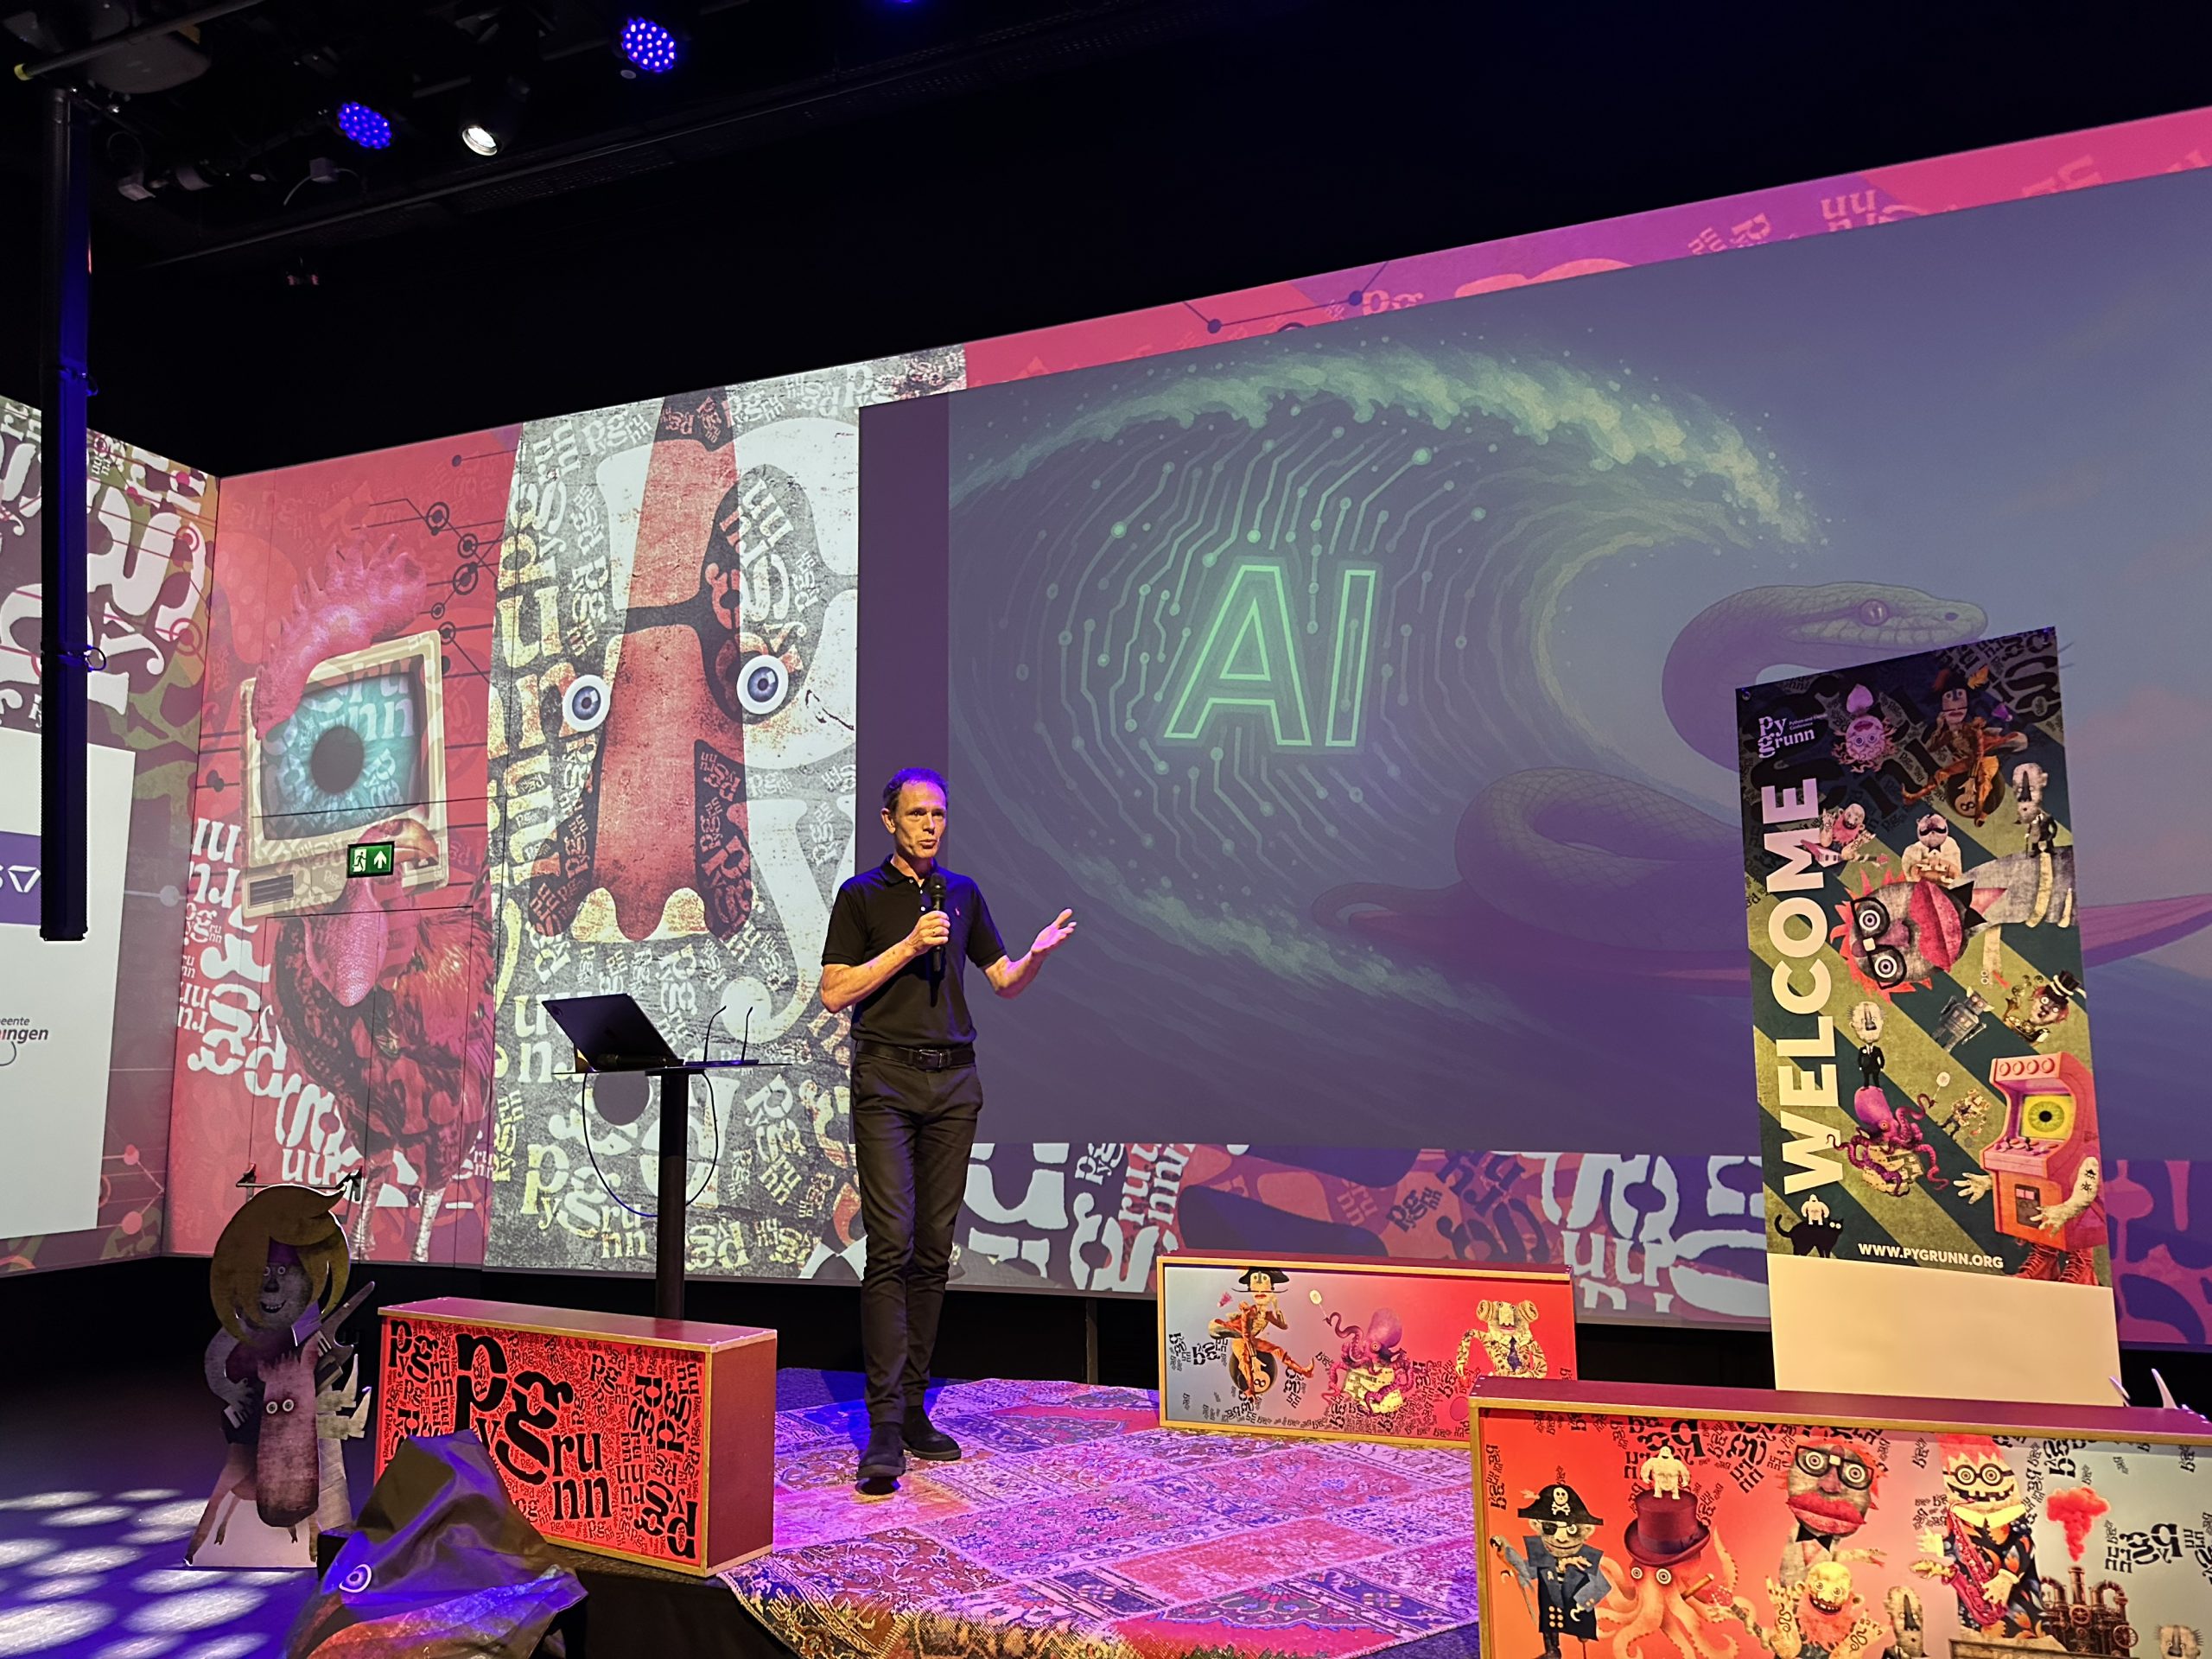
Conferences are a great way to learn diverse topics in your field. That’s why I like to go to events like Pycons and last Friday, PyGrunn. PyGrunn is a Python event in Groningen, the Netherlands. I submitted two talks for the event myself. One of them was selected.

Here is a recap of the talks I attended and the stuff I learned, so you maybe get inspired to attend Python conferences and even speak at these events.

Keeping your Python in check – Mark Boer

Python was originally developed to make coding more accessible. Where at other programming languages you had to tell what type of data type your variables are, Python deduced this automatically. Good for beginning coders, maybe not so good for advanced data solutions.

Mark Boer has experience in strong typing in his data science solutions. He shared how you can ensure typing in different ways: in data classes, using Pydantic and named tuples. The talk assumed that the attendees already had experience with typing. I had not, so it was a lot to take in. But if I can review the video in a few weeks, I hope to catch on.

(more…)
Diagram of heights of Olympic athletes. There's a big gap between short and tall athletes.

Profiling data with ydata in PySpark

When you got a dataset to explore, there are several ways to do that in PySpark. You can do a describe or a summary. But if you want something a little more advanced, and if you want to get a bit of a view of what is in there, you might want to go data profiling.

Older documentation might point you to Pandas profiling, but this functionality is now part of the Python package ydata-profiling (which is imported as ydata_profiling).

I’ve been following this blog on starting with ydata-profiling:

https://www.databricks.com/blog/2023/04/03/pandas-profiling-now-supports-apache-spark.html

Getting ydata-profiling to work is not exactly a walk in the park. You’d think you can just feed it your messy dataset and it will show you what the data is like. But I encountered some problems:

  • I got errors about missing Python packages in some situations.
  • ydata doesn’t seem to like dataframes with only string columns.
(more…)
An e-ink display showing an amount of 837 euros with a field of tulips as background.

Showing a gift total on a Raspberry Pi with an e-ink display – how hard could it be?

TL;DR:

These Python and Raspberry Pi projects. They are fun aren’t they? And often they look deceptively simple. But you don’t see all the projects that failed and usually not where they struggled. This project got stuck (and almost failed) at:

  • Not being able to scrape dynamic website content.
  • When I found out how to do that, I couldn’t run my working Python code on the Raspberry Pi.
  • That turned out to be because the scraping packages use a chromium browser, but not for the ARM processor that the Raspberry Pi has.
  • And to top it all off, the Python package for the Inky Impression e-ink display had some kind of problem running numpy.
(more…)

A Strava dashboard on a Raspberry Pi (Part 3): The Strava API

This is part 3 of a series of blogposts on how I created a Strava dashboard on a Inky Impression e-ink display with a Raspberry Pi.

OAuth2

This was the part that I expected to be the hard part: getting my data from Strava. Or, to be more precise: getting the connection right so the Strava API would allow me to get that data. Because it requires authentication via the OAuth2 protocol and I’ve tried a similar thing a few years back with a Google API and I just didn’t get it. But now I do.

Strava API documentation

It requires a whole “dance” between your computer code and the Strava API where you exchange all kinds of tokens back and forth. Strava’s Getting Started with the Strava API document explains it quite well. And this blogpost by Graziano Fuccio helped me a lot with the Python code: http://www.grace-dev.com/python-apis/strava-api/.

Frustratingly I still didn’t get it to work though. The reason I found out, is because the URL of the authentication has changed. From https://www.strava.com/oauth/token it became  https://www.strava.com/api/v3/oauth/token. I found this elsewhere in the Stava API documentation, where the correct URL was shown. I’ve told Strava that their Getting Started documentation is outdated. They asked me to create a ticket and I’ve done so, but I don’t think they changed their document yet. But Graziano Fuccio did though.

(more…)

A Strava dashboard on a Raspberry Pi (Part 2): Installing software

In last blogpost we set up the Raspberry Pi, attached the Inky Impression display and got the Raspberry Pi ready for remote access.

Time to get the Inky Impression software installed and make the Inky Impression screen display something.

Your SSH connection of choice

For this we’re going to have to run some commands via remote SSH. There are multiple ways to log in remotely. You can use a tool like Putty or the terminal on MacOS (I like iTerm2). That’s actually simpler.

But I chose to use Visual Studio Code because you can edit Python code remotely via SSH straight on the Raspberry Pi.

To do this you must install Visual Studio Code. Visual Studio Code has all kinds of extensions. Here we will install the Remote – SSH extension. And while you’re at it, maybe install the Python extension as well, because we will be writing some Python later.

Installing the Remote-SSH extension in Visual Studio Code
(more…)

A Strava dashboard on a Raspberry Pi (Part 1): Setting up the Raspberry Pi

This is the list of hardware I’ve used:

  • An Inky Impression 5.7 inch e-ink display.
  • (The Inky Impression comes with a 40-pin female header included to boost height for full-size Pis and standoffs included to securely attach to your Pi)
  • A Raspberry Pi 3 model B+ (I had lying around) + power supply
  • A micro SD card with 8 GB storage or more.
  • Initially: keyboard, mouse and monitor (but if you configure the WiFi on the Raspberry Pi and configure it to allow remote SSH, you can connect to it via WiFi from the convenience of your regular computer)

For those who don’t know a Raspberry Pi: this is a very small and quite cheap computer. The Raspberry Pi 3B+ I’ve used for example is about 40 euros. But you can spend even less, because my Strava dashboard doesn’t exactly require a lot of computing power.

So you could instead use a Raspberry Pi Zero 2 W (15-25 euros), which takes up less space also. But I believe this will require soldering to attach the GPIO. And it seems to be out of stock on a lot of sites.

(more…)