Last year I did a talk at Pycon Ireland 2024 about e-ink displays, in which I gave several examples of ways you can program e-ink displays on a Raspberry Pi with Python. For this talk I developed one extra application: displaying a star map on an e-ink display. But the e-ink displays I had available back then were a bit small for this purpose.
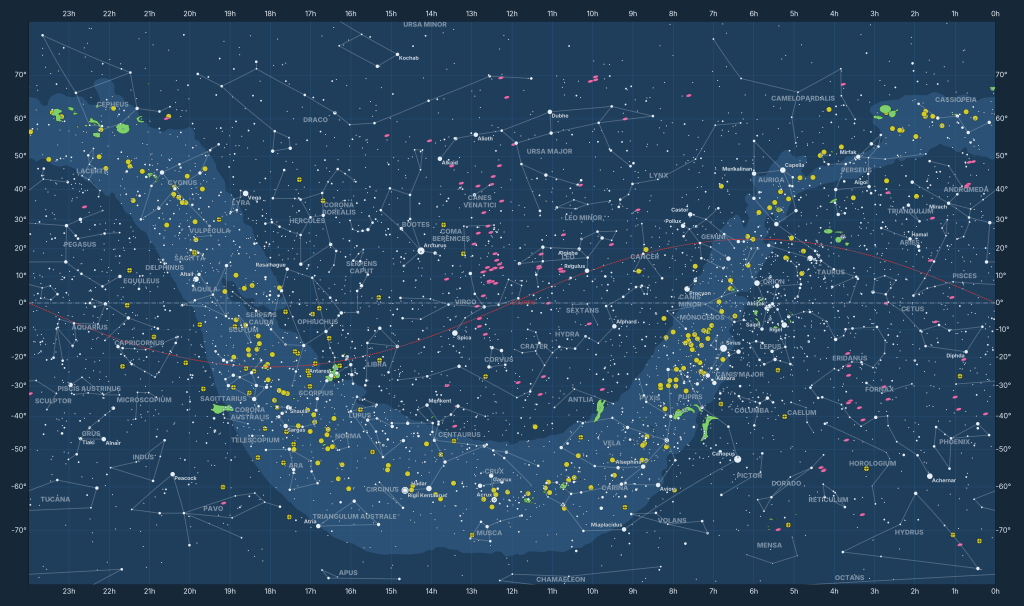
Enter Pimoroni’s new Inky Impression 13.3 inch e-ink display. As soon as it arrived, I worked on the star map again. It turned out that 9 months later, some things had changed. But after 2 evenings experimenting, I got a new working version. Now utilising the gradient display of the Python package starplot. On the new 13.3 inch display with brighter colours, it worked perfectly.
A star map on the wall
At a board meeting (is that really the correct translation of “bestuursvergadering”? It sounds like we’re millionaires) of the Working Group Moon and Planets, of which I’m PR director (very prestigious I might add), I showed my e-ink display with star map to the fellow board members. And some of them said “you should sell those. I would want one”. But the thing is, I’ve already decided to open source the code and the hardware is not really hard to assemble. Just connect a Raspberry Pi to the Inky display on the GPIO port, add power, and you’re kind of off to the races. Oh yes and flash a microSD card.
Even though the Python code was open source, I just imagined the long list of instructions I had to describe to people who have never used a Linux operating system. “Don’t forget to add the 2G swap space! Then install uv and ..”. That was never going to work. I needed a way easier method for installation.
A one command install
The thing was: I had never done such a thing. But these days everyone has an intern that can be called on any moment, and is willing to help for almost free. It goes by many names: AI, LLM, ChatGPT, Claude. In any case, I asked ChatGPT what to do. It came up with a couple of options , number one of them: using pyinstaller, seemed very attractive to me.
With pyinstaller you can bundle all the Python code and dependencies in one big executable, copy it and install it. I’ll give you the short story about it: it didn’t work very well. I kept trying and trying to handle dependencies manually that pyinstaller overlooked, encouraged by ChatGPT. And after almost 2 weeks of fruitless work, I hung the towel in the ring. The starplot package that I use for creating these maps just has too many dependencies and pyinstalller is just too incapable finding them.
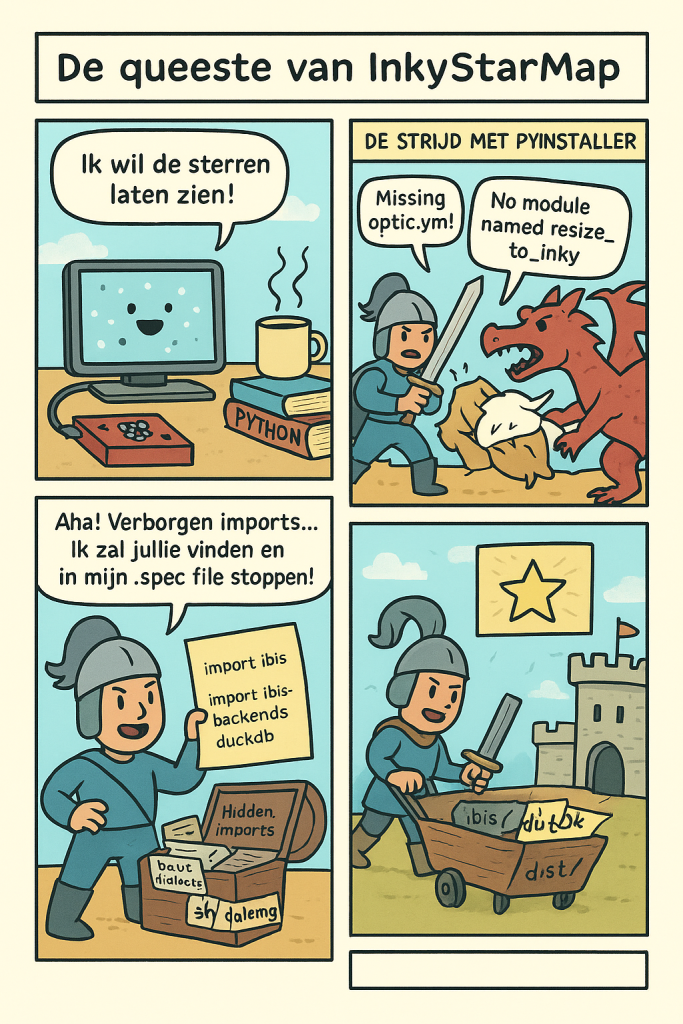
So I asked ChatGPT: what else do you got? And plan B became creating a .deb file, something I also never had done before. A .deb file is an installer file in Debian/Raspbian (the OS of Raspberry Pi). You can define preinstall and post install commands. Ideal if you want to create a 2G swapfile and install Astral’s uv before you install your Python packages. It can also make an executable of the Python script, so that users don’t even know they are running Python. They just run the executable.
Another week of grunt work and I had a working .deb file that I could run on fresh Raspbian setups and it would do everything in one go. Neat!
Frame it!
I always said I wanted it hanging on the wall. The Inky e-ink display does have two holes you can put a cord through and hang it on a wall, but I wanted to actually have a nice frame on it.
So I decided to go shopping. From earlier Inky displays I knew their sizes weren’t exactly a standard size here in the Netherlands. So I went into a framing shop to get one tailored made. Not exactly cheap, but how often do you build a self updating star map that you can hang on the wall?
The man in the framing shop said this was a first for him as well and he clearly had fun thinking about the assignment. And 1 1/2 weeks later I had this version in my hands:
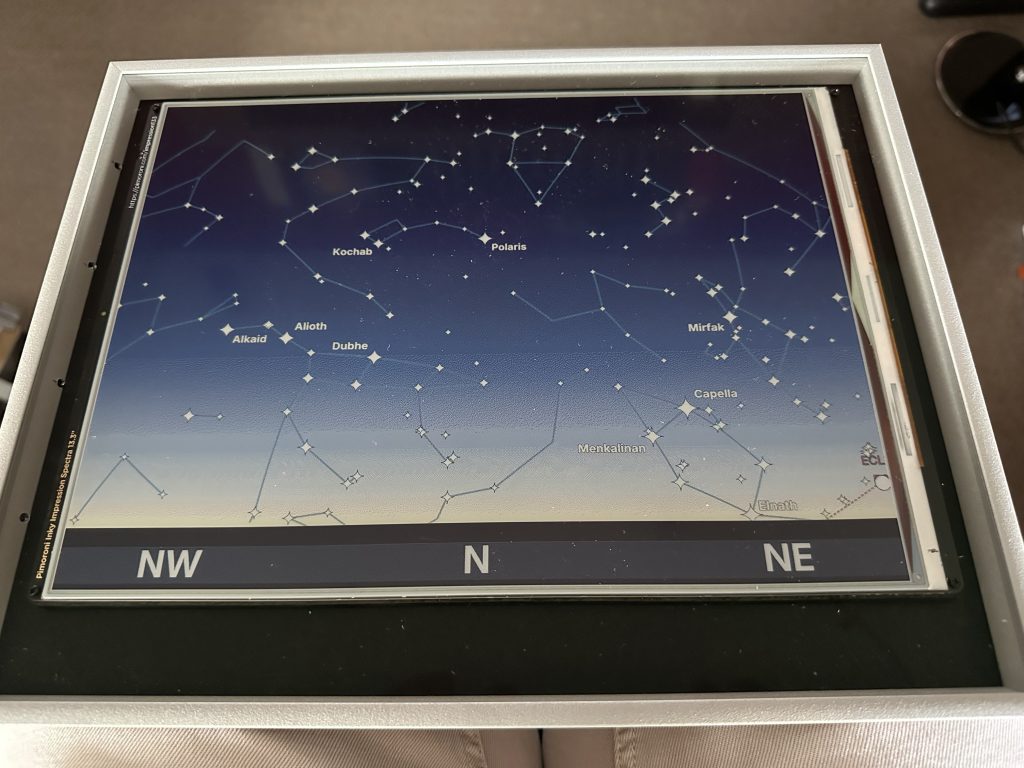
Just in time for the Tweakers Developer Summit 2025, where I presented it during my (updated) talk about e-ink displays.
Two steps forward, one step back
After the summit it was already a good couple of weeks since I last refreshed it. And with an upcoming talk specifically about this star map application, I decided to do that. But it was a while since I last logged in and I had forgotten to store the password to my Raspberry Pi account. Also, when I directly connected my screen, keyboard and mouse to it, I found out I couldn’t reach the WiFi. Raspberry Pi Zero 2’s tend to have WiFi connection problems. At least in my house.
I decided to flash a fresh Raspbian OS install on my MicroSD card, download my .deb file and install it. First I discovered the Raspberry Pi Imager no longer has the option to configure I2C and SPI. So that’s on my users now, to fix with raspi-config? I don’t like that. I ran raspi-config by hand for now.
And then it happened: the .deb file didn’t work. I quickly found out that the latest version of Raspbian OS (Trixie of October 2025) had deprecated the very tool I used to enlarge the swap space (dphys-swapspace). It also used a new memory manager, called ZRAM.
Disastrous! I was just enjoying being done with this solution here. And just a month later I needed to rebuild it. And now I needed to find out what this ZRAM thing was about. More time I needed to spent that I actually wanted to spent elsewhere. Oh well.
A new swapfile
So I consulted my intern again. My intern came with several options. One of them (configuring ZRAM) didn’t exactly work, because the config files mentioned in the solution didn’t exist on the system. In the end I chose to create an old fashioned swapfile. That apparently works with ZRAM. (It should also work with the old system.)
After installing the swapfile on a Raspberry Pi Zero 2 with 7.3 inch Inky (because the 13.3 inch version takes up a lot of desk space), I got my inkystarmap program working again. Hurray!
A new problem arrives on the scene
Next I tested it on the 13.3 inch version and I got an error: “RuntimeError: Can’t find a driver this display”. A grammatically incorrect error. What driver was it missing? After a healthy bike ride to clear my mind, I came up with a possible reason: I use an older version of the inky Python package. On purpose, because on the 7.3 inch displays I kept getting an error something like “Woah there, some pins we need are in use! Chip Select: (line 8, SPI_CE0_N) currently claimed by spi0 CS0”. The only way to get it working on my Raspberry Pi Zero 2’s with Inky Impression 7.3 inch was by downgrading the inky package to version 1.5.0.
But maybe.. maybe.. that old version didn’t recognise the new 13.3 inch driver. Maybe there was a new version of the package? There was. Version 2.2.1 was out. And maybe.. maybe.. in this version the issue with the 7.3 inch version was solved?
Only one way to find out: I ran “uv add inky==2.2.1” on my Raspberry Pi Zero 2 with 7.3 inch display, crossed my fingers and .. it worked!
Back to the .deb
So I changed my pyproject.toml to update the version of the inky version to 2.2.1. And I needed to create a new version of the .deb file where it would create and use a swapfile. All this can be done in Unix shell commands BTW, so it’s quite doable. Especially with a little AI help.
But there was another problem: I still needed the SPI and I2C interfaces to be enabled, as these are important for getting Python to work with the Inky display. But the latest version of the Raspberry Py Imager doesn’t have an option to enable these when flashing the microSD card anymore. So I also needed a way to do that in the .deb file.
Because, yes, you can do this on the Raspberry Pi with the raspi-config command on the shell, but not as one liner commands without interaction. Luckily ChatGPT had a way around that: work directly in the config files/firmware (/etc/modules).
After some tests (and losing WiFi connection, regaining it, resuming tests and such) it worked on Raspberry Pi Zero 2 with Inky Impression 7.3!
You can find the new .deb file and instructions how to build the star map in my Github repository:
https://github.com/Marcel-Jan/inkystarmap
Errors to look out for
Just to document a couple of common errors when working with the Inky Impressions in Python. So I can find them back myself when DuckDuckGo-ing or anyone else Googling.
Chip Select: (line 8, GPIO8) currently claimed by spi0 CS0
I had this problem with the Inky Impression 7.3 (non spectra6 version) with a Raspberry Pi Zero 2 and the inky Python package, version 2.0.0. I could only get my Python code working again by downgrading the inky package to 1.5.0. But it seems in version 2.2.1 this problem is solved.
RuntimeError: No EEPROM detected! You must manually initialise your Inky board.
Probably your I2C and/or SPI interfaces are disabled. You can enable them with “sudo raspi-config” (go to interfaces) or add these modules to /etc/modules.
RuntimeError: Can’t find a driver this display
The inky Python package has no driver for the display attached. Possibly because your version of the package is too old. Or your Inky display is too new?
Conclusion
This project has become way more time consuming than I had foreseen. Especially the change to ZRAM on the new Raspbian OS was a real setback (some of my neighbours might have heard me cursing out loud in the night).
But also: you can imagine how this project would never even have been possible without AI, Not in this span of evenings anyway.
Next steps
Things I want to work on:
- I still need to configure the scheduling, so that the starmap refreshes every hour. I’ve done something similar on other projects. I just didn’t have the time to work on it here. Because, you know, ZRAM.
- In its current form it will just show you a map of the night sky in one direction. Once scheduled, it is not interactive in any way. I’ve been thinking about how I could make it interactive. The Inky displays have 4 buttons. North, West, South and East? Actually I’ve been thinking in another direction: if you can run a small webserver on the Raspberry Pi, I can direct it from my phone and tell it to refresh my screen from there. That would be a project I would build with Claude Code for sure. The only risk: it would be too heavy for the Raspberry Pi Zero 2 to run.
0 Comments